Finishing a Polymer80 frame with a hand drill: what actually works
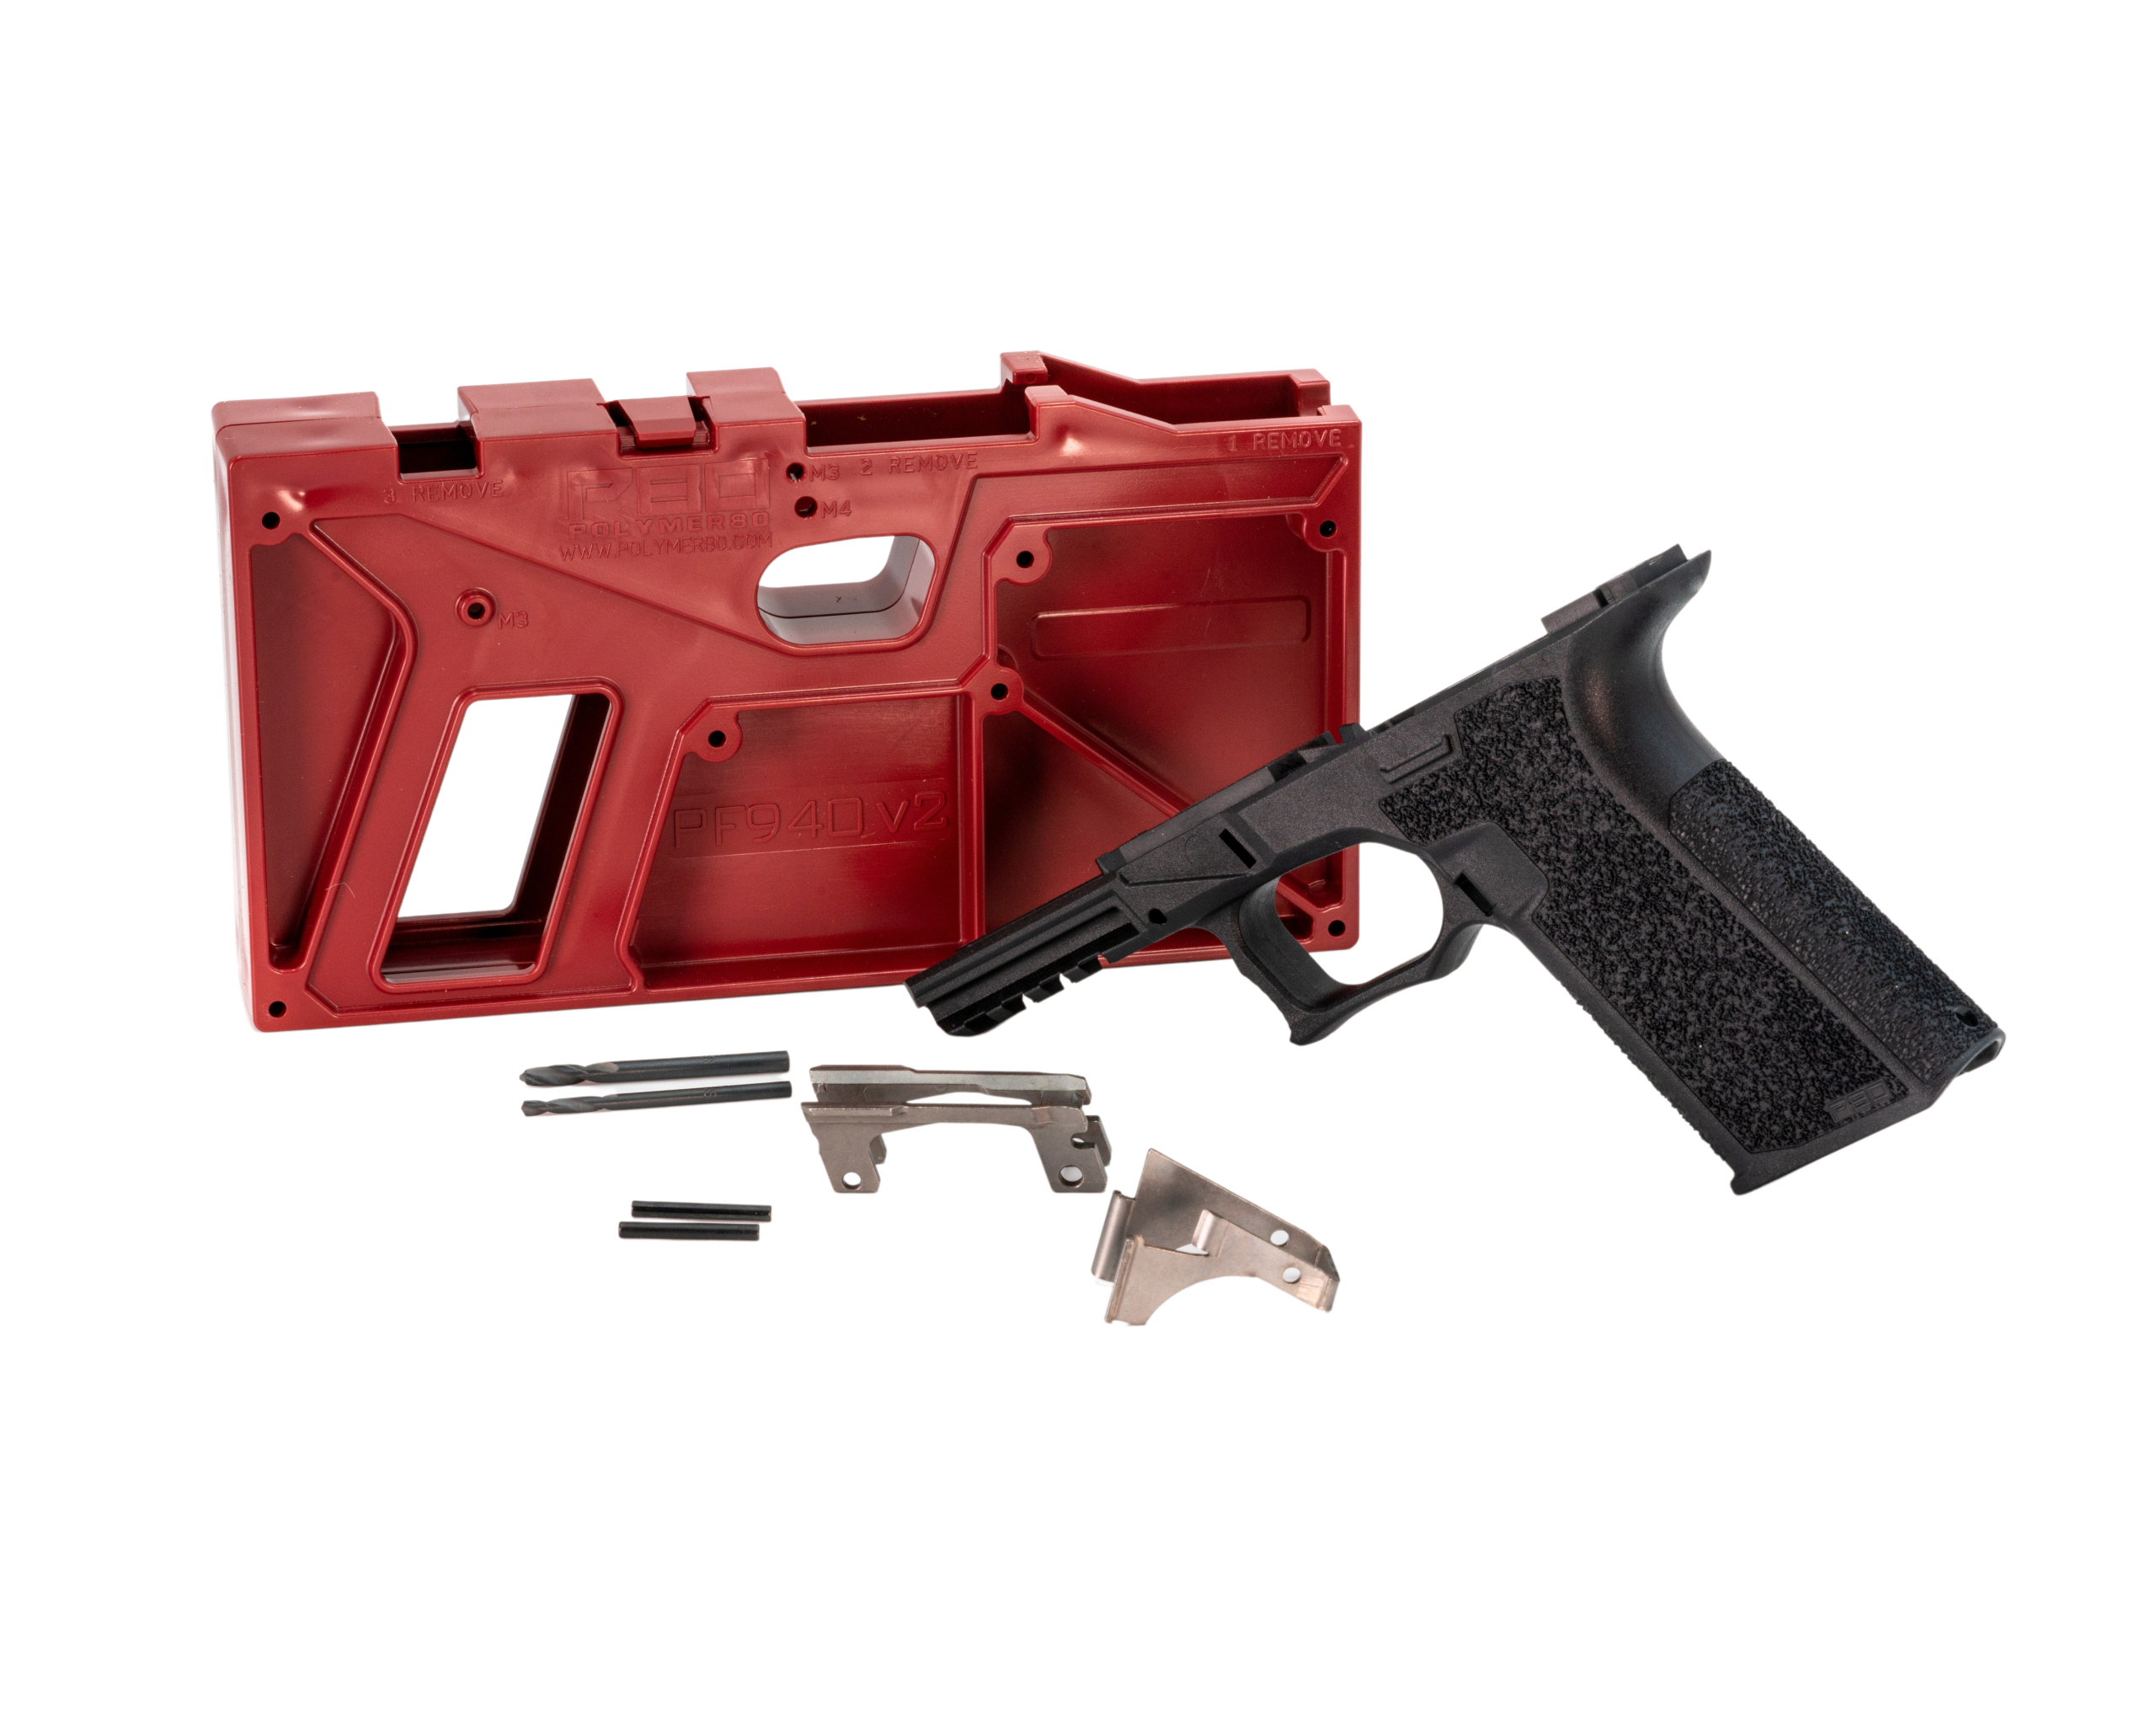
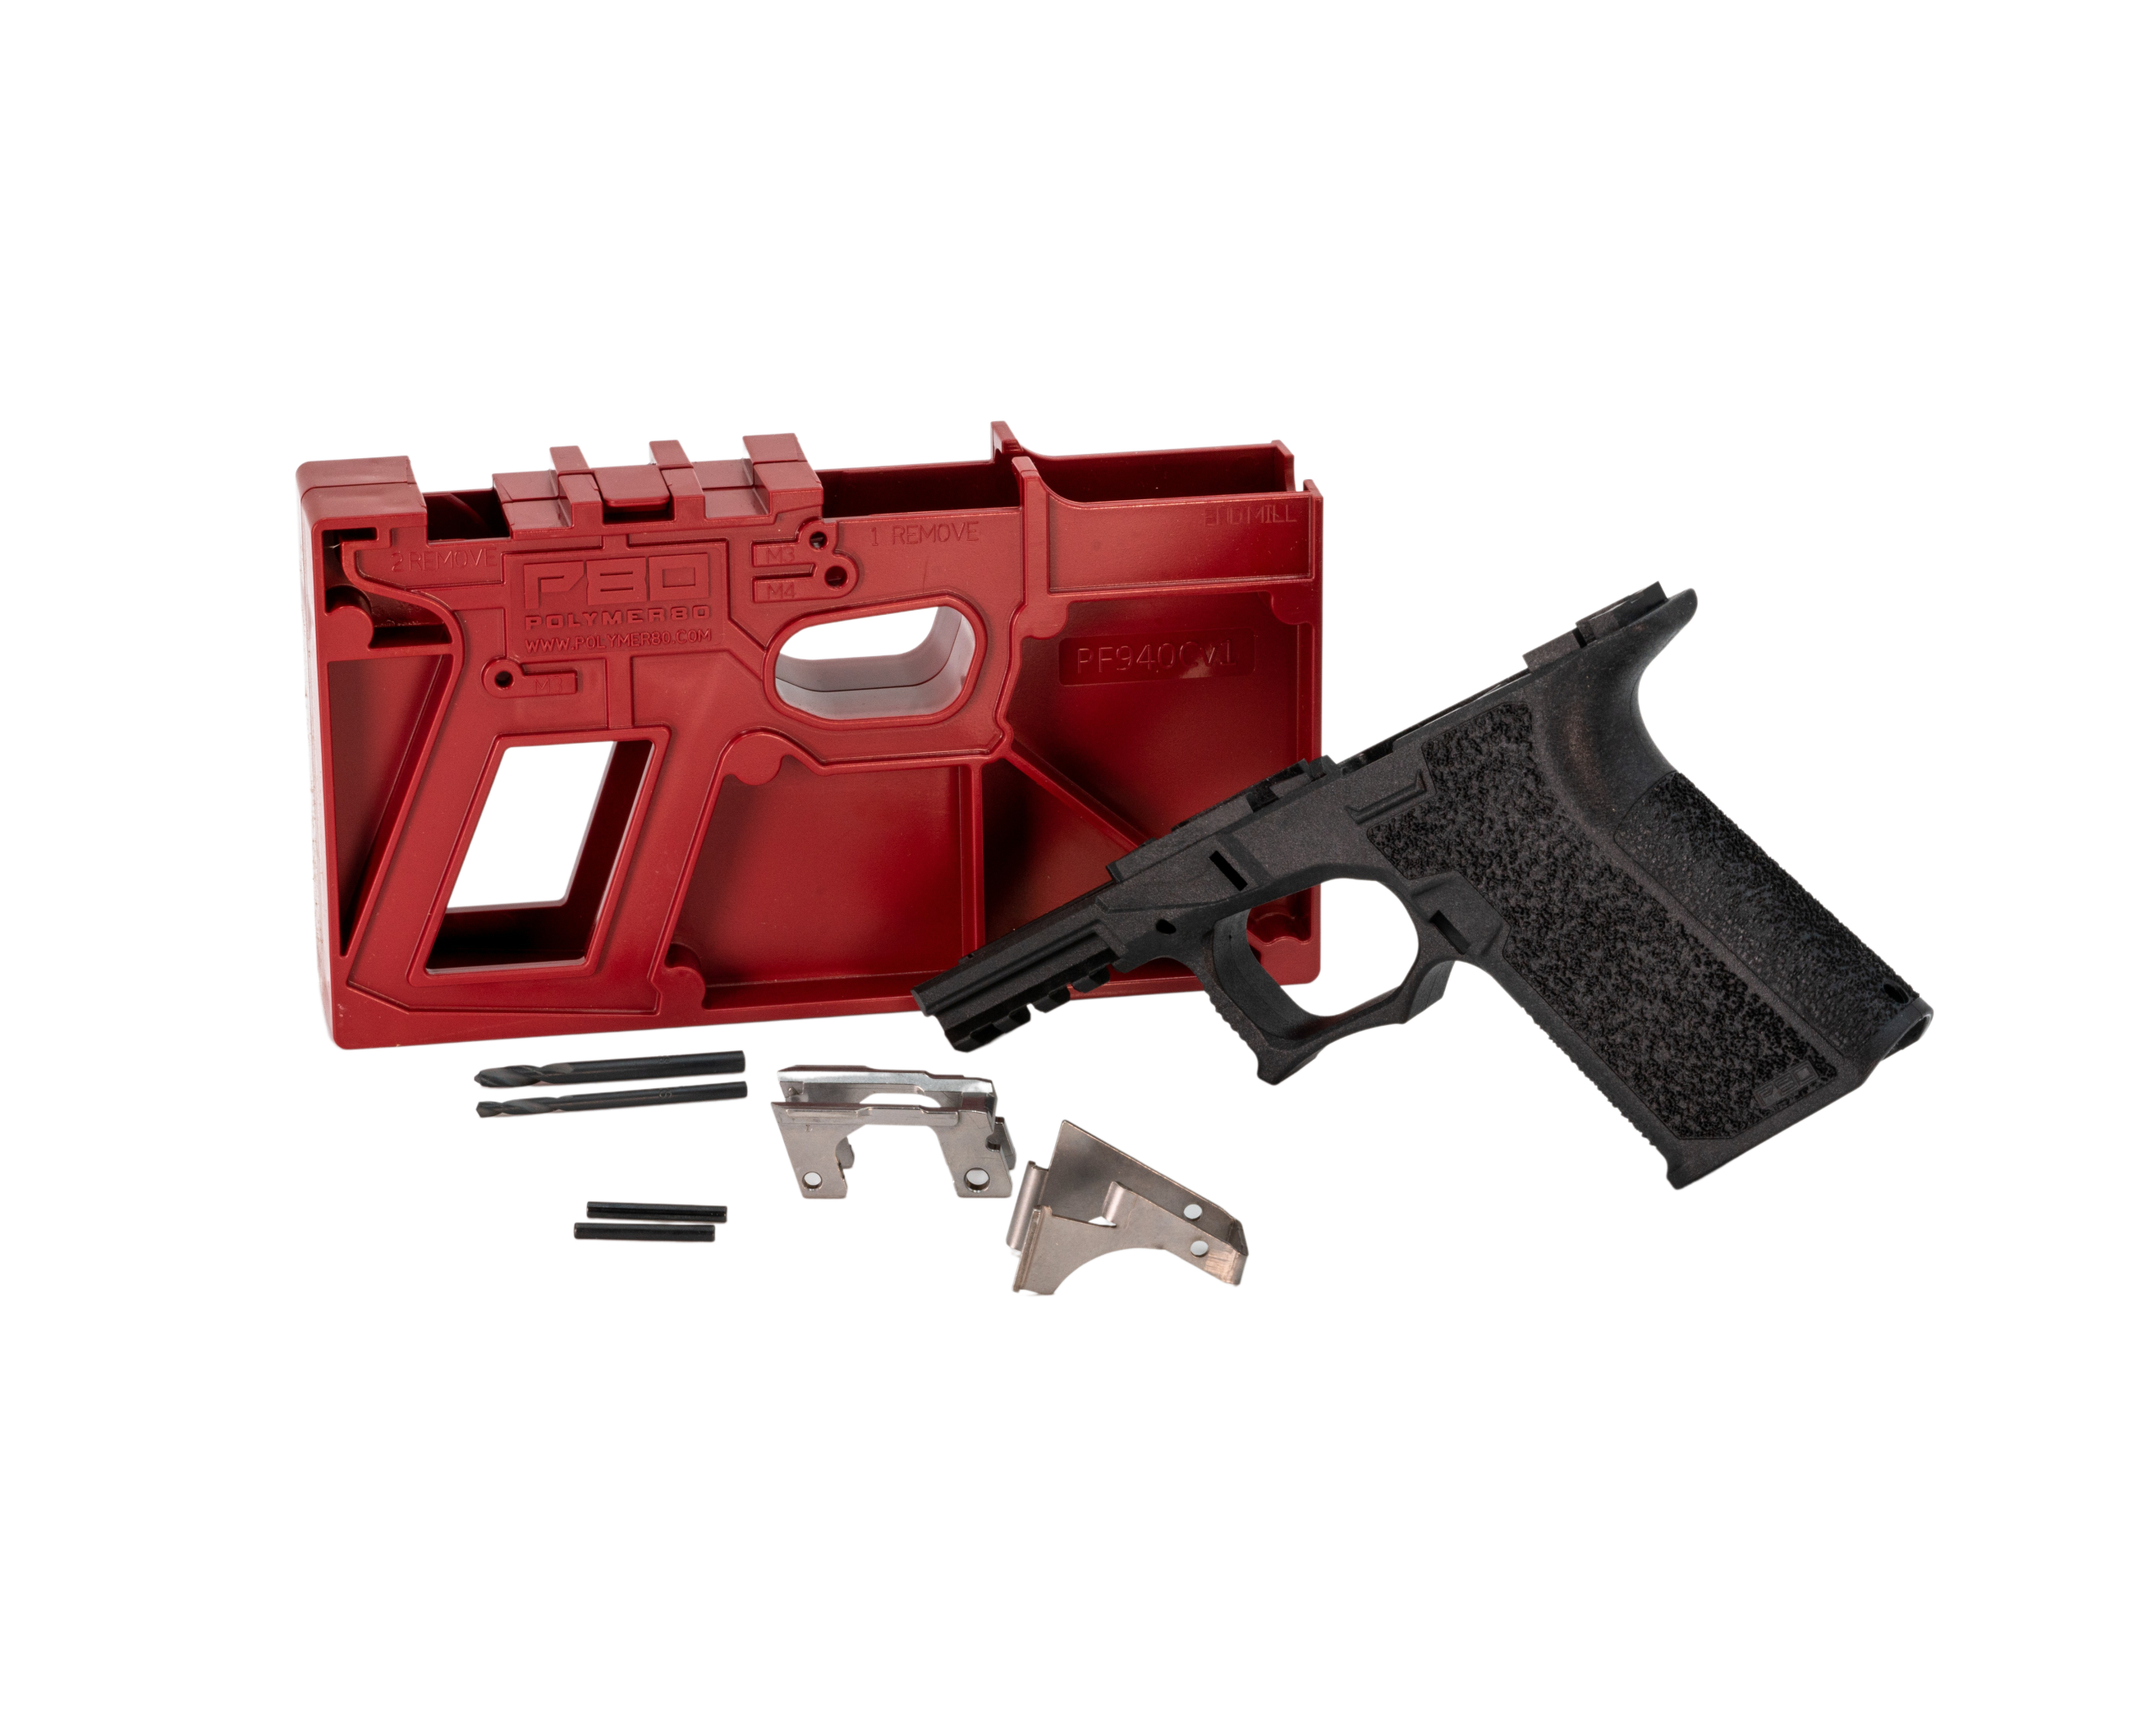
You do not need a mill or a drill press to finish a PF940-series frame. You need a corded or cordless drill, a bench vise, the jig and bits in the kit, a flat file, safety glasses and half an evening. Here is the order we follow.
1. Pin holes first
Seat the frame in the jig, clamp the jig in the vise across its flat sides, and drill the three trigger and locking block pin holes with the 3 mm bit through the jig guides. Let the bit cut; forcing it wanders the hole. Back the bit out to clear chips every few seconds.
2. Rail tabs
The front and rear rail tabs are the polymer that stops the slide going on. Mark them with the jig, then remove them with the 9 mm end mill chucked in the drill, cutting shallow passes from the top. Stop a hair proud of the jig surface and finish flat with the file. Test-fit the rail modules as you go; they should seat without force.
3. Barrel block
The barrel block is the top of the frame ahead of the locking block. Cut it down to the jig line the same way, then dress it flat. This is the cut that most affects slide fit, so go slow and check often.
4. Fit and check
Install the locking block rail and rear rail module, then set the bare slide on the frame. It should travel the full stroke with light hand pressure. Tight spots are almost always a tab left proud; take another pass with the file.
When a drill press is worth it
AR-15 lowers. The fire-control pocket on the RL556v3 and G150 is deep, and a drill press with the jig clamped square makes the pocket walls straight. The pistol frames genuinely do not need it.